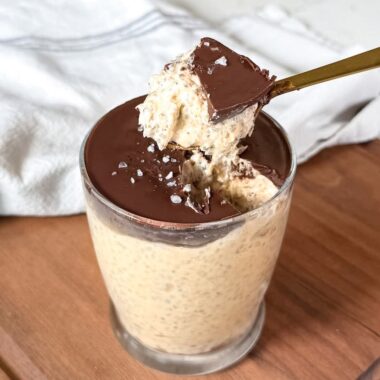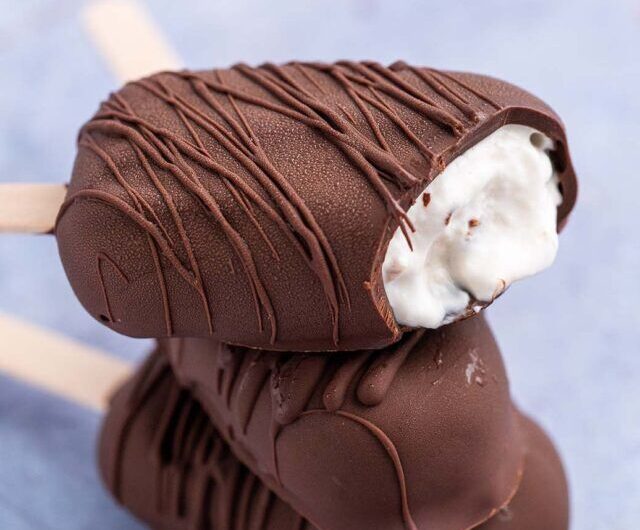
These Cottage Cheese Ice Cream Bars are a creamy, refreshing, protein-rich frozen treat with a delicious cheesecake-like texture. Cottage cheese might sound unusual as the base for ice cream, but once blended until completely smooth, it becomes remarkably creamy. Combined with Greek yogurt, honey, vanilla, and fresh berries, it creates frozen bars that are simple enough for an everyday snack yet delicious enough for dessert.
The best part is that you don’t need an ice cream maker. Everything comes together in a blender or food processor, then the mixture is poured into a pan, frozen, sliced, and enjoyed.
Ingredients
For the Ice Cream Base
- 2 cups full-fat cottage cheese
- ½ cup plain Greek yogurt
- ⅓ cup honey or maple syrup
- 1 teaspoon vanilla extract
- 1 tablespoon fresh lemon juice
- Pinch of salt
Berry Swirl
- 1 cup fresh or frozen strawberries, raspberries, or blueberries
- 1 tablespoon honey or maple syrup
- 1 teaspoon lemon juice
Chocolate Topping
- 1 cup semi-sweet or dark chocolate chips
- 1 tablespoon coconut oil
Optional Toppings
- Chopped almonds or peanuts
- Shredded coconut
- Fresh berries
- Mini chocolate chips
- Crushed freeze-dried fruit
Step 1: Prepare the Berry Swirl
Start by making the fruit mixture. Add the berries, honey, and lemon juice to a small saucepan over medium heat.
Cook for approximately 5–7 minutes, stirring occasionally, until the berries soften and release their juices. Lightly mash the fruit with a fork or potato masher.
Continue cooking until the mixture becomes slightly thickened. It doesn’t need to become as thick as traditional jam because it will continue to firm as it cools.
Remove the saucepan from the heat and allow the berry mixture to cool completely.
If you want a completely smooth swirl, press the mixture through a fine-mesh strainer to remove seeds. This is optional.
Step 2: Blend the Ice Cream Base
Add the cottage cheese, Greek yogurt, honey, vanilla extract, lemon juice, and salt to a high-powered blender or food processor.
Blend for 1–2 minutes, stopping occasionally to scrape down the sides.
This step is important. Cottage cheese contains small curds, and you want to blend long enough to transform them into an exceptionally smooth mixture.
Continue blending until the mixture looks creamy and resembles thick yogurt or soft-serve ice cream.
Taste the mixture and adjust the sweetness if necessary. Remember that freezing slightly dulls sweetness, so the mixture should taste pleasantly sweet before freezing.
Step 3: Prepare the Pan
Line an 8-by-8-inch square baking pan with parchment paper, leaving some parchment hanging over the sides.
The overhanging parchment will act as handles, making it much easier to remove the frozen slab later.
Pour the blended cottage cheese mixture into the prepared pan and spread it evenly with a spatula.
Drop spoonfuls of the cooled berry mixture over the surface. Use a knife or skewer to gently swirl the berries through the ice cream base.
Don’t over-swirl. Leaving distinct ribbons of fruit creates a beautiful appearance and gives you noticeable bursts of berry flavor in every bite.
Step 4: Freeze
Place the pan in the freezer on a level surface.
Freeze for approximately 4–6 hours, or until the mixture is firm enough to slice.
For the best texture, you can freeze the bars overnight.
Because homemade frozen desserts become quite firm, allow the pan to sit at room temperature for approximately 5–10 minutes before cutting.
Step 5: Slice Into Bars
Lift the frozen slab from the pan using the parchment paper.
Place it on a cutting board and use a sharp knife to cut it into approximately 10–12 bars.
If the knife sticks, run it under warm water, dry it thoroughly, and then slice.
Try to make the bars similar in size so they freeze and serve evenly.
At this point, you can enjoy the bars as they are, or coat them in chocolate for an extra-special treat.
Step 6: Add the Chocolate Coating
Place the chocolate chips and coconut oil in a microwave-safe bowl.
Heat in 15–20-second intervals, stirring after each interval, until the chocolate is completely melted and smooth.
Allow the chocolate to cool slightly.
Dip the frozen bars into the melted chocolate, coating one side or the entire bar. Alternatively, place the bars on parchment paper and drizzle the chocolate over the top.
Immediately sprinkle with chopped nuts, shredded coconut, or mini chocolate chips if desired.
Return the bars to the freezer for approximately 10–15 minutes, or until the chocolate has hardened.
Helpful Tips
Blend thoroughly. The key to smooth cottage cheese ice cream is blending the cottage cheese until no noticeable curds remain.
Use full-fat cottage cheese. Lower-fat varieties can work, but full-fat cottage cheese generally produces a richer and creamier frozen texture.
Don’t add too much fruit. Excess liquid from berries can create icy areas. Cooking the fruit down first helps concentrate the flavor.
Taste before freezing. Sweetness becomes less pronounced when frozen, so adjust the honey or maple syrup before the mixture goes into the freezer.
Let the bars soften slightly. Homemade frozen bars are naturally firm. A few minutes at room temperature makes them easier to bite and gives the texture a creamier quality.
Flavor Variations
There are countless ways to customize these bars.
For chocolate peanut butter bars, add 2 tablespoons of peanut butter to the blended base and use melted chocolate for the topping.
For lemon cheesecake bars, increase the lemon juice slightly and add a teaspoon of finely grated lemon zest.
For banana chocolate bars, blend one ripe banana into the cottage cheese mixture and add mini chocolate chips.
For blueberry cheesecake bars, use blueberries for the fruit swirl and add a little lemon zest.
For cookies-and-cream bars, fold crushed chocolate sandwich cookies into the blended mixture before freezing.
Storage
Once completely frozen, transfer the bars to a freezer-safe airtight container. Separate layers with parchment paper to prevent them from sticking together.
For the best texture and flavor, enjoy the bars within approximately 2–3 weeks.
Keep them frozen until ready to serve, and allow individual bars to rest at room temperature for several minutes before eating.